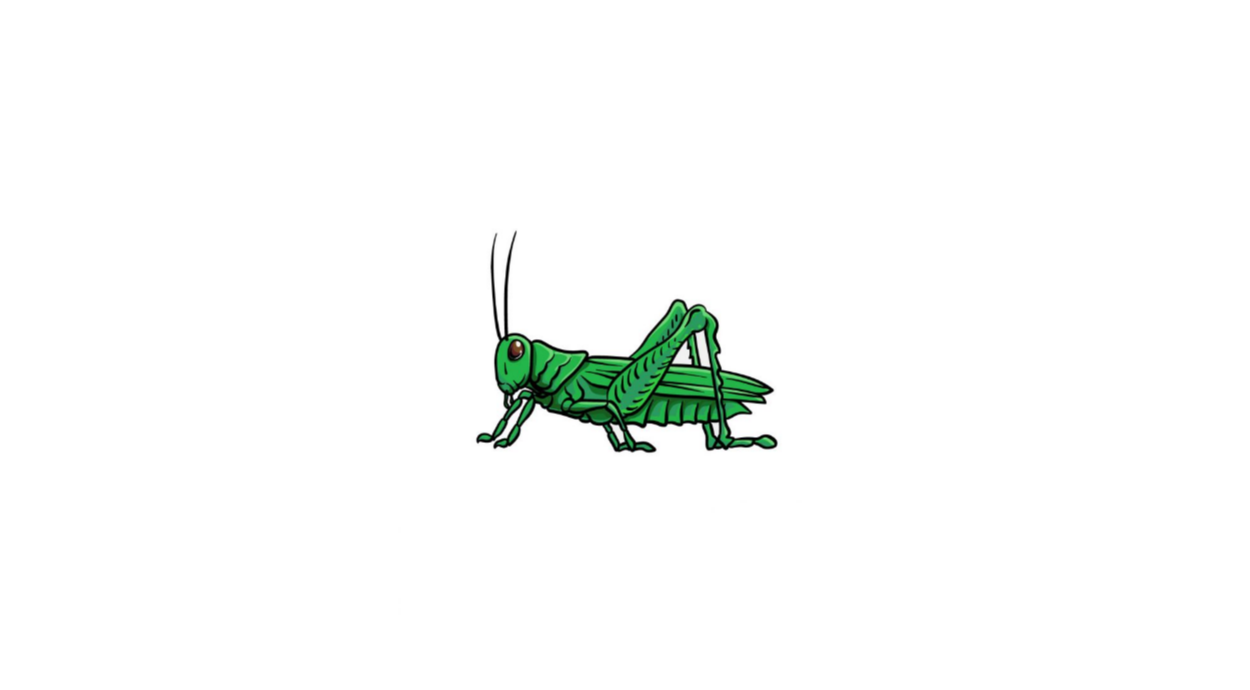
How to Draw A Grasshopper. There are many different insects in the animal kingdom, and many of them have weird and wonderful designs!
Also, check our cats coloring sheet.
The locust also stands out from this great variety of species and is characterized even more by its incredible jumping ability.
This unique look also makes it a popular insect worldwide, leading many to want to learn how to draw a grasshopper. If you are one of these individuals, you have come to the right place!
How to Draw A Grasshopper
Step 1
We’ll start with the insect’s head and chest for the first step of our tutorial on how to draw a grasshopper.
To draw the head, draw a rounded shape with a small shape at the bottom. Then you can draw another shape to the right of the head.
This is also drawn with rounded lines but has a sharp bulge to the top right.
Once these items look like the reference image, you’re ready for the next step!
Step 2
Now that you’ve drawn the head and chest, we can add some details. For the head, you can draw an oval shape for the Grasshopper’s eye.
Then you can use some long lines sticking out of it as antennas. As for the chest, let’s add some wavy lines for some texture detail.
Finally, for this step, we’ll add the two front legs. These legs each have three sections, as shown in the reference image. That’s all for this step, and you’re ready for step 3!
Step 3
It’s time to add more legs to this step of our how-to draw a grasshopper tutorial! These will be very similar to the previous ones you drew, but with some differences.
First, the thigh segment will be longer than the first.
Also, these point to the back of the Grasshopper and not the front like the others did.
Step 4
Two of the Grasshopper’s legs are large and powerful to help them jump far and high. That’s what we’ll start with in this part of your grasshopper drawing.
These legs are thick and rounded at the base but thin out over time. They also end in a round, knobbly shape that later connects to the rest of the leg.
Finally, you can draw short, straight lines down the leg for added detail.
Step 5
Before proceeding to the final phase of this how-to-draw-a-grasshopper guide, we must first make some additions.

First, use some jagged lines to create the subtle lower back leg section, as shown in the reference image.
Then you can extend the wings backward with straighter lines. Finally, the belly is drawn with some more jagged lines.
Then, you must use a few simple lines for more detail throughout the Grasshopper. These can go on the eyes, face, body, wings, and legs.
These are just the details we would like to add; feel free to add more!
You can also draw a background or add more insects to match this Grasshopper. Make sure to get creative and see what happens!
Step 6
You’ve reached the sixth and final step of this grasshopper drawing, where you will have fun coloring!

We chose a light green color scheme for our reference image, but this is just one way to color your image.
While you can replicate our color choices, feel free to use any other color you like. Grasshoppers come in many colors and patterns, giving you a lot of freedom in bringing this design to life.
There are many different artistic mediums to choose from depending on the look you want for this image.
We can achieve lighter colors with acrylic paints, crayons, and markers. Softer colors can be achieved with watercolors, colored pencils, or pastels, for example. So many amazing options are available to you, so make sure you enjoy them!
Your Grasshopper Drawing is Finished!


